Organization-level configuration
There are two configuration options. The first is designed for large organizations, where connection configuration is performed by the organization’s administrator without requiring user intervention (specific calendar permissions are required). The second option is designed for small organizations or individual users who connect to their mailboxes independently.
Register application
First, log in to the Microsoft Entra website (https://entra.microsoft.com/) to register the application:

Click the “New Registration” button. Enter a name for the connection, e.g., “AddSync Manager”
| Supported account types | Description |
|---|---|
| Accounts only in this organizational directory | Select this option if you’re creating an app exclusively for users (or guests) in your tenant. This app, often called a line-of-business (LOB) app, is a single-tenant app on the Microsoft identity platform. |
| Accounts in any organizational directory | Select this option if you want users in any Microsoft Entry tenant to be able to use your application. This option is suitable, for example, if you are building a software-as-a-service (SaaS) application that you plan to share with multiple organizations. This type of application is known as a multi-tenant application in the Microsoft identity platform. |
| Accounts in any organizational directory and personal Microsoft accounts | Select this option to reach the widest possible customer base. By selecting this option, you’re registering a multi-user application that can also support users with personal Microsoft accounts. Personal Microsoft accounts include Skype, Xbox, Live, and Hotmail accounts. |
| Personal Microsoft accounts | Select this option if you’re creating an app only for users with personal Microsoft accounts. Personal Microsoft accounts include Skype, Xbox, Live, and Hotmail accounts. |
Click the “Register” button.
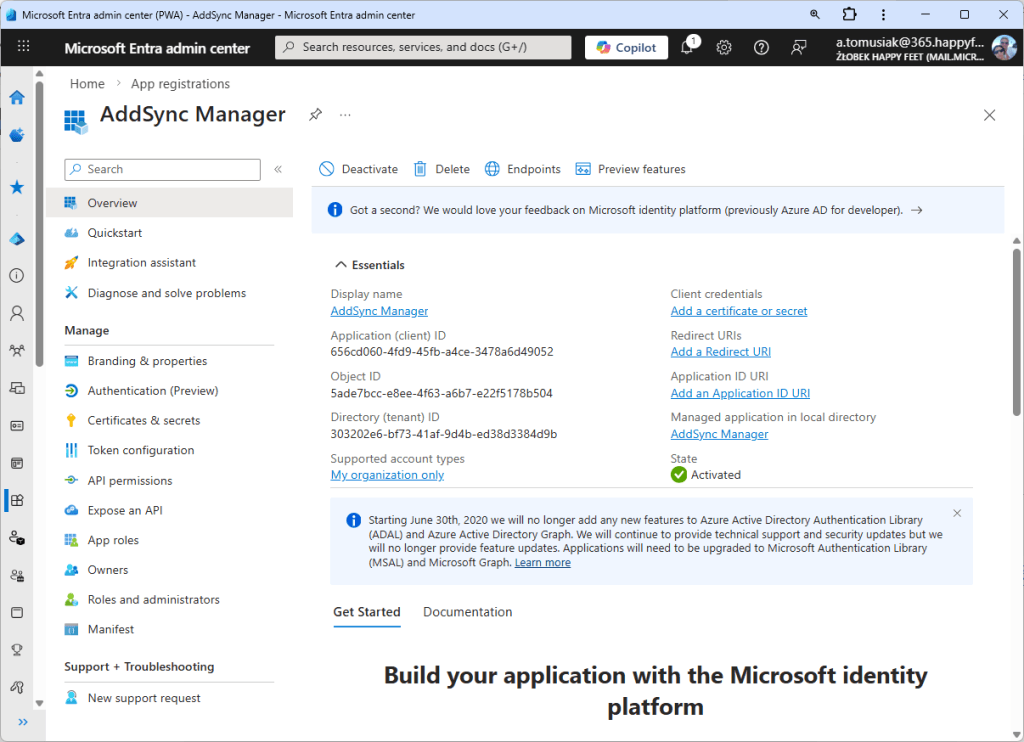
After registering the application, copy the “Basic Elements” to Notepad:
- Application (client) ID
- Directory (tenant) ID
Granting permissions
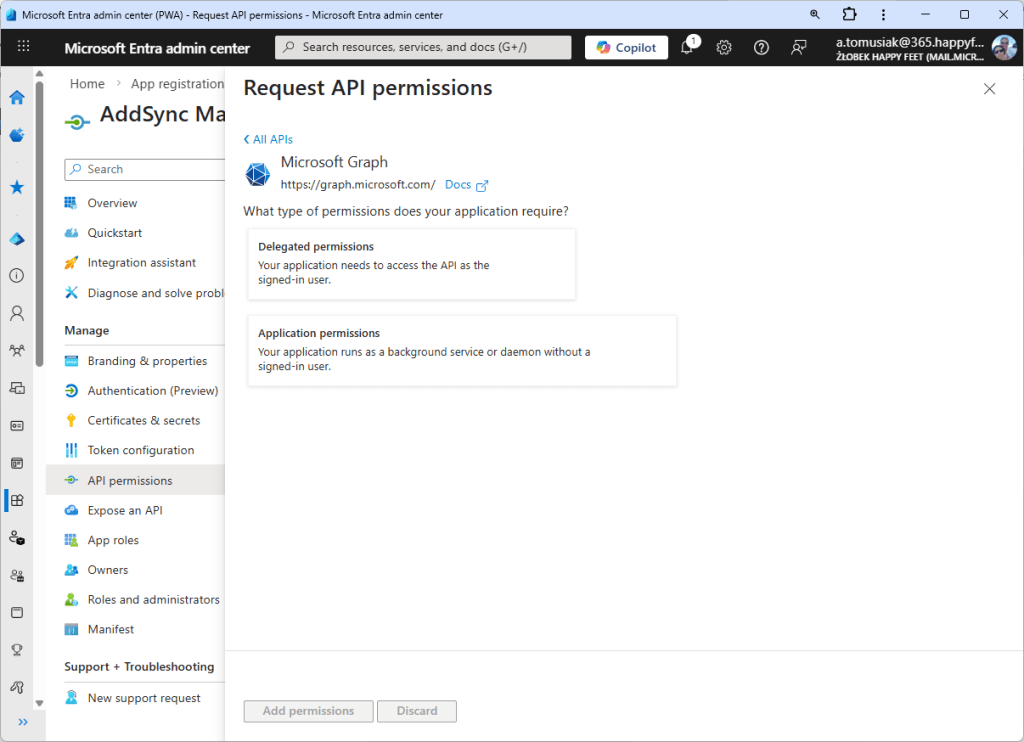
Go to the API Settings tab on the Microsoft Entra panel
Click “Add a permissions” > “Microsoft Graph” > “Application permissions“
In the displayed list, search for the phrase “Calendar” and in the list of found ones, select “Calendar.ReadWrite“.
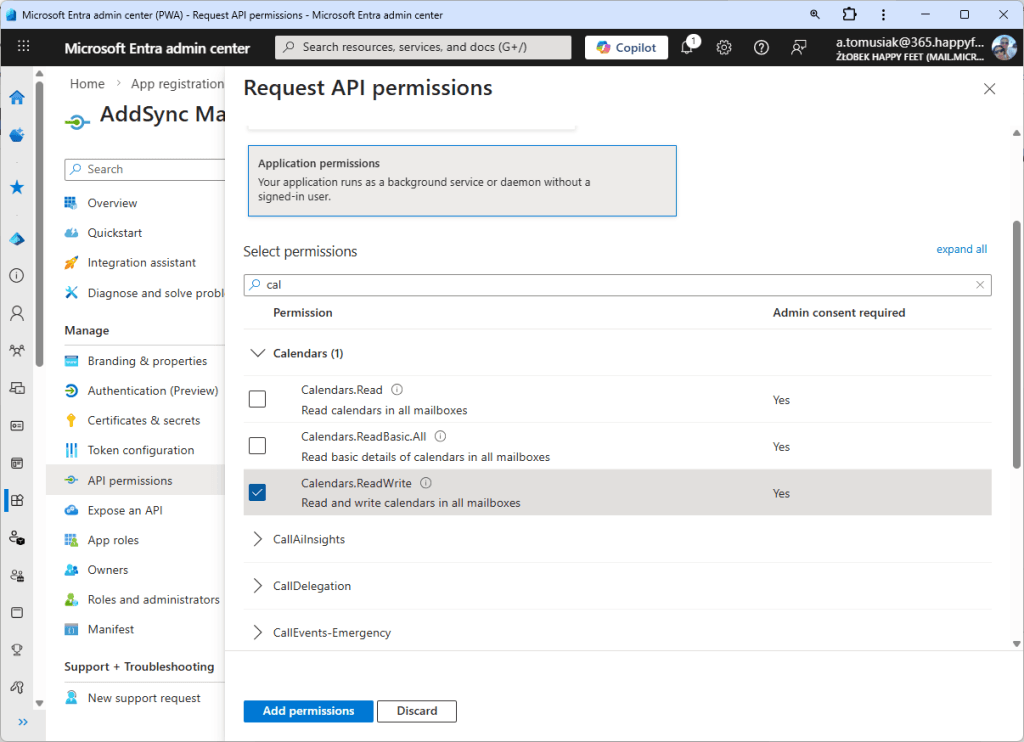
Once saved, go to API Permissions and press the “Grant admin consent for …” button

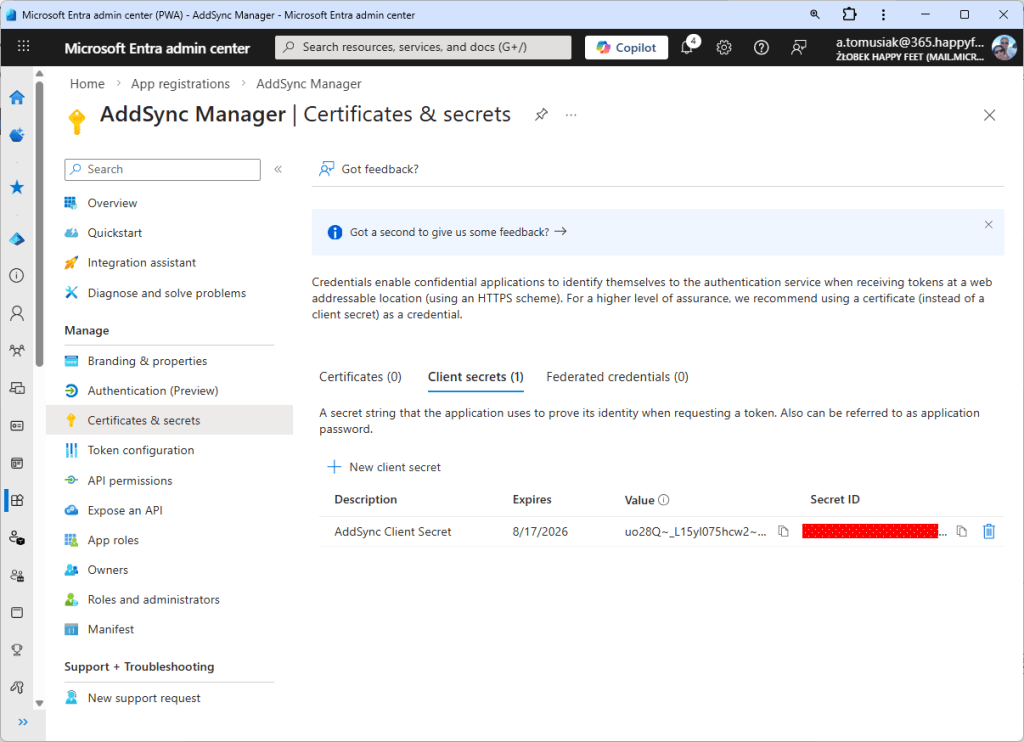
Customer credentials
In the Microsoft Entra main panel, go to the menu: App registrations > All Applications > In the application list, click your named application.
Go to API Permissions and then to the Client Credentials tab.
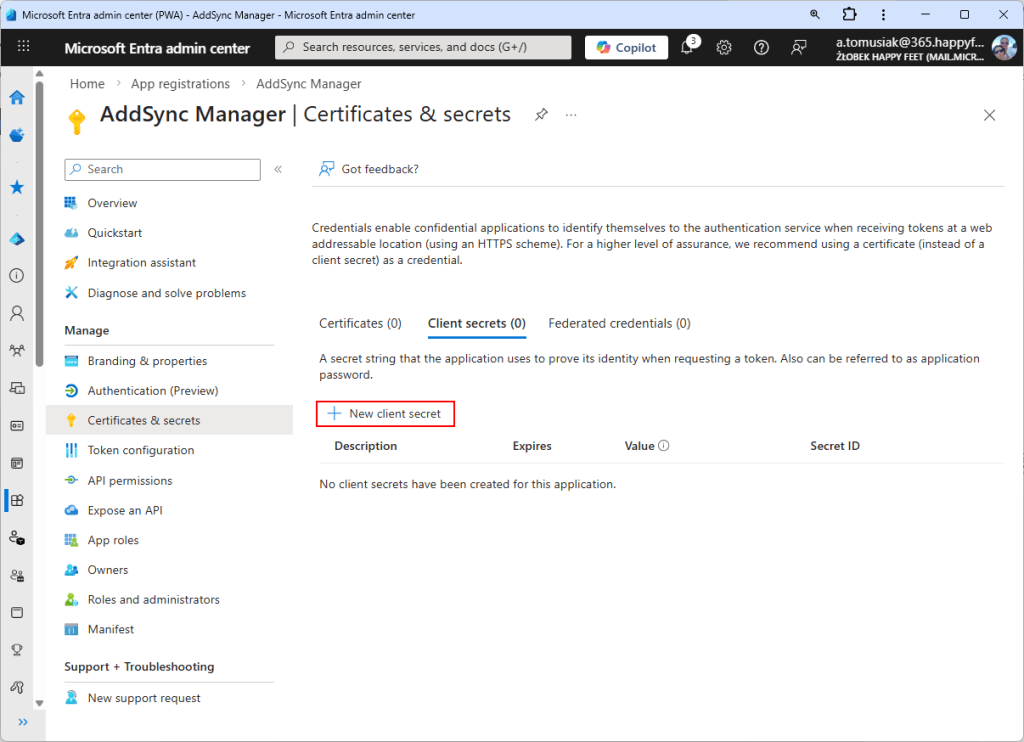
In the next step, we copy the generated “Value” key
This is the final step that will allow you to gain access to the calendars of users specified in the AddSync Manager system.
First, enter the data obtained during access generation in the SyncManager configuration, such as the: Tenant ID, Client ID, and Client secret.
Now you can configure the connection in AddSync Manager.
